Deploy a Project Securely via a Ci Workflow
So what does this in the first place?
It allows you to deploy everything you push to a specific branch (e.g. master) (or make a release) automatically. Normally you would need to git pull, build, upload the output to your server, set the permissions and done. Really annoying tbh if you build stuff often.
#How it works
We create a new user on our server and give it the minimum permissions it needs to deploy our site / project (for a static page, just rrsync) and then we let caddy host the thing (if its a static site).
The ci workflow gets a secret and a deploy set in which it upload the thing to this new user. So in case of a key compromise the worst thing that could happen is actually just that this site gets replaced (still try not publishing your keys anywhere lol).
#Creating the new user
since i use nixos, this is written for it… if you use another distribution, just search which imperative commands do the same stuff. Also I’m asuming here you have ssh already configured for normal usage…
First lets create a new user (deployment-usr). The most important part (highlighted), is defining your deployment key (the public key, the private key is the secret in the repo) & the directory where the sites should land in the end.
The middle line restricts the ssh key to a forced command (rrsync) in write only mode to our specified directory. For a deployment of a static site, so in case of a key compromise an attacker should be (except if there there is a vulnerability in rrsync or a misconfiguration with the permissions, etc.) be limited to only being able to change the static pages, which would be annoying but not a server takeover (in case of static sites, if you use this modified to deploy sth and run it via node, it changes the picture completely … (node project + keycompromise is basically already the user being compromised))
And the lower part hardens it a bit more, by restricting more ssh features that a normal user might have (not that someone malicious should even be able to access them in the first place, just multiple lines of defense so to speak …).
{ pkgs, ... }: # and whatever else you need ...
let
  deployKey = "ssh-ed25519 AAAAAAAAAAAAAAAAAAAAAAAAAAAAAAAAAAAAAAAAAAAAAAAAAAAAAAAAAAAAAAAAAAAA";
  sitesDir = "/var/www/sites";

  rrsync =
    pkgs.runCommand "rrsync-${pkgs.rsync.version}"
      {
        nativeBuildInputs = [ pkgs.gnutar ];
      }
      ''
        tar -xzf ${pkgs.rsync.src} --wildcards '*/support/rrsync' -O > rrsync

        # sshd runs forced commands with a minimal PATH and NixOS has no
        # /usr/bin, so the interpreter and the rsync binary must be absolute
        # store paths
        substituteInPlace rrsync \
          --replace-fail '#!/usr/bin/env python3' '#!${pkgs.python3}/bin/python3' \
          --replace-fail "'/usr/bin/rsync'" "'${pkgs.rsync}/bin/rsync'"

        install -Dm555 rrsync $out/bin/rrsync
      '';
in
{
  ...

  users.groups.deployment-usr = { };

  users.users.deployment-usr = {
    isSystemUser = true;
    group = "deployment-usr";
    home = "/var/empty";
    createHome = false;
    shell = pkgs.bash;

    openssh.authorizedKeys.keys = [ ''command="${rrsync}/bin/rrsync -wo ${sitesDir}",restrict ${deployKey}''];
  };

  environment.systemPackages = [ rrsync ];

  services.openssh.settings.AllowUsers = [ "deployment-usr" ]; # adds the user additionally to the already allowed users for ssh

  services.openssh.extraConfig = ''
    Match User deployment-usr
      AuthenticationMethods publickey
      DisableForwarding yes
      PermitTTY no
      PermitTunnel no
      PermitUserRC no
      MaxSessions 2
  '';

  ...
}
Also note the rsync definition in the let part, here we’re defining our own package since in nixpkgs there is only a pythong script under rrsync, not sth we can directly use
With this added, you can rebuild (nixos-rebuild switch --flake .#nixos, or with whatever configuration name you have in your flake)
#The CI Workflow
Configure the Forgejo Repo’s secret
You need now a new ssh key-pair (ssh-keygen -t ed25519 (or whatever algorithm you wanan use)). The private key (really the private key, ik usually you don’t upload it anywhere), gets taken and pasted as a new secret in your forgejo repo that you want to automatically be able to deploy. I named the secret DEPLOY_KEY and gonna reference this in this article, if you use a different name, just use yours …
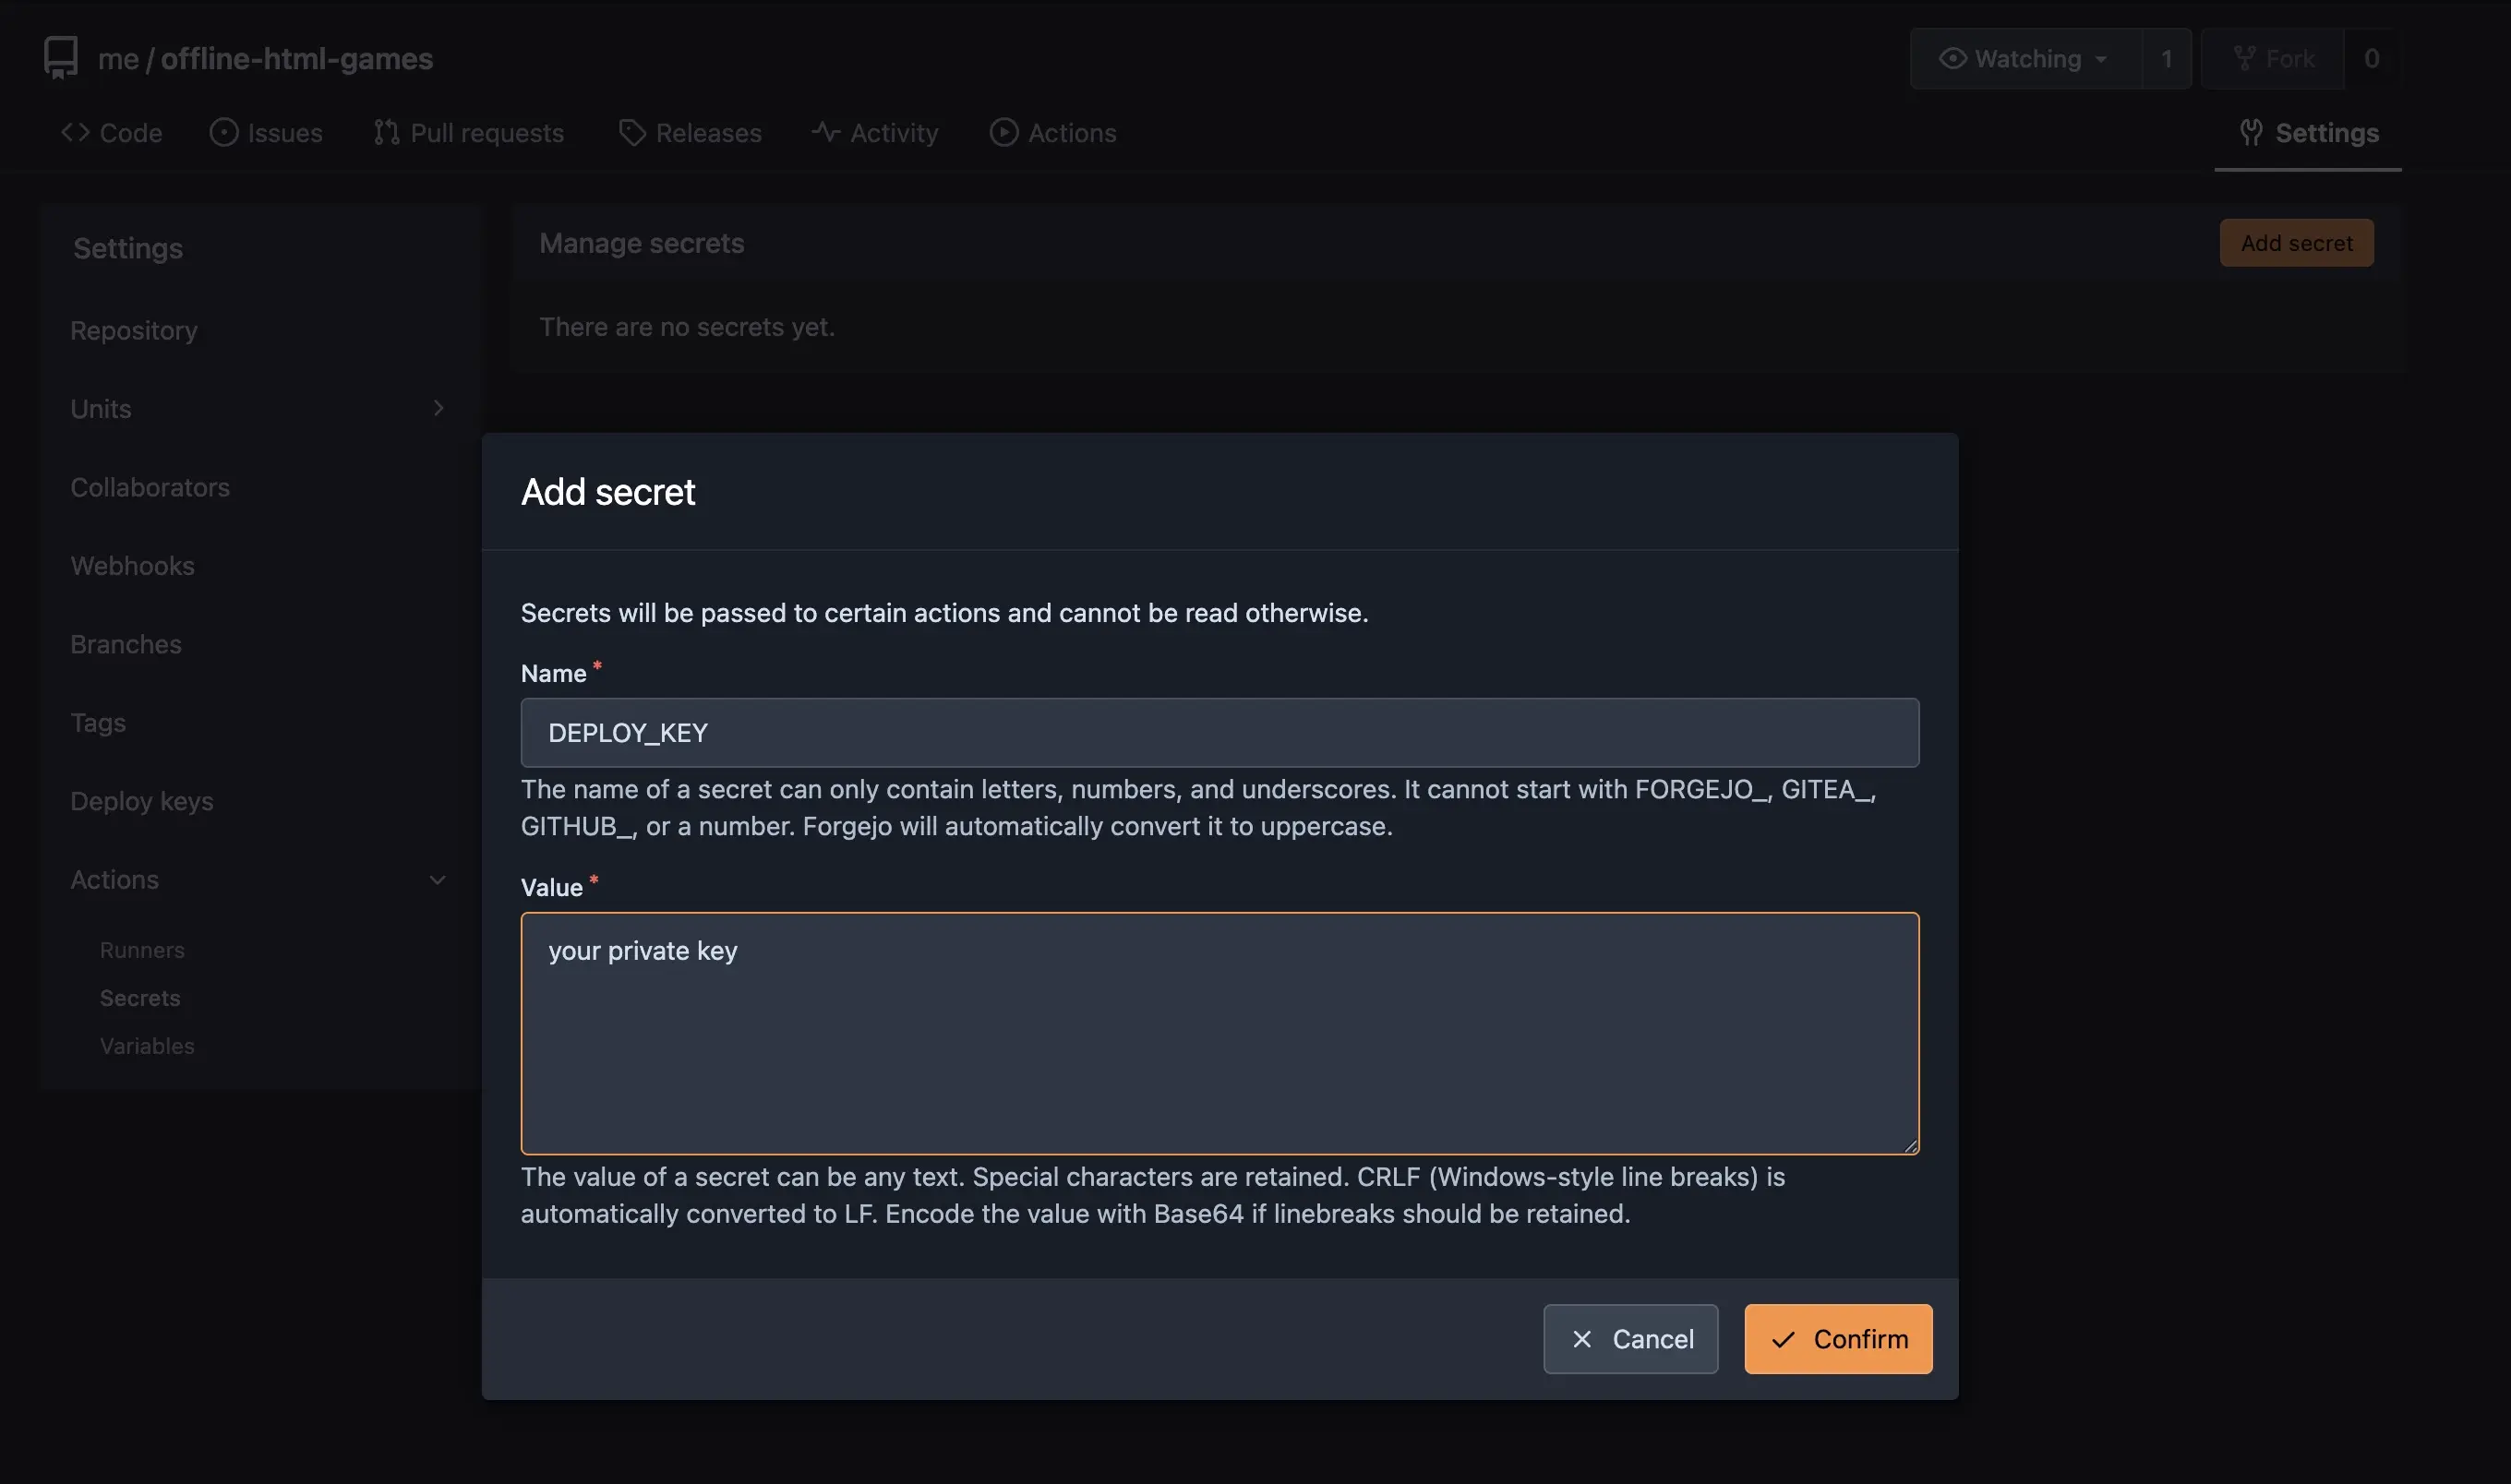
next you create the ci workflow in the repo, for this create a new file (in the project repo you wanna deploy) .forgejo/workflows/deploy.yml (for github ci just replace the .forgejo with .github)
name: deploy

on:
  push:
    branches: [master]

# never two deploys at once (overlapping rsyncs would interleave)
concurrency:
  group: deploy
  cancel-in-progress: true

jobs:
  deploy:
    runs-on: nix
    timeout-minutes: 15
    steps:
      - name: Checkout
        uses: actions/checkout@v7

      - name: Build
        run: nix run nixpkgs#hugo -- --minify

      - name: Deploy
        env:
          DEPLOY_KEY: ${{ secrets.DEPLOY_KEY }}
        run: |
          mkdir -p ~/.ssh
          chmod 700 ~/.ssh

          echo "[git.catq.de] ssh-ed25519 AAAAC3NzaC1lZDI1NTE5AAAAIGzKes+Mv/twaUkrjAx+RqkdBk0C8qqR6j8CMmpq/nIj" > ~/.ssh/known_hosts

          printf '%s\n' "$DEPLOY_KEY" > ~/.ssh/id_ed25519
          chmod 600 ~/.ssh/id_ed25519

          rsync -rlptD --delete-after --delay-updates --chmod=D755,F644 \
            -e "ssh -i ~/.ssh/id_ed25519 -o IdentitiesOnly=yes -o StrictHostKeyChecking=yes" \
            public/ deployment-usr@git.catq.de:blog/
Note in my example here I’m deploying my hugo blog, change it accordingly to whatever you wanna deploy
The first part is just that it doesnt run concurrent, is executed on commits to the master branch (you might wanna use main here, some ppl prefer it). The runs-on is my custom nix image (read more about this in my post about setting up your own forgejo runner on nixos) … but you could just use here a public one that supports the checkout action (so has node installed) and has hugo (change the step to directly use hugo and not nix run hugo) and rsync.
Next comes the custom rsync step, here you need to change the highlighted lines:
first off is a pinned public key material of the server, you wanna pin this so that it’s not trust on first use … to get yours just run:
ssh-keyscan git.catq.de | grep ssh-ed25519obviously with your own domain of the forgejo instance and then replace the thing that gets echoed
and then the last line, here you set the directory you wanna upload and the host (change it again to your domain), here:
public gets uploaded to /var/www/sites/blog
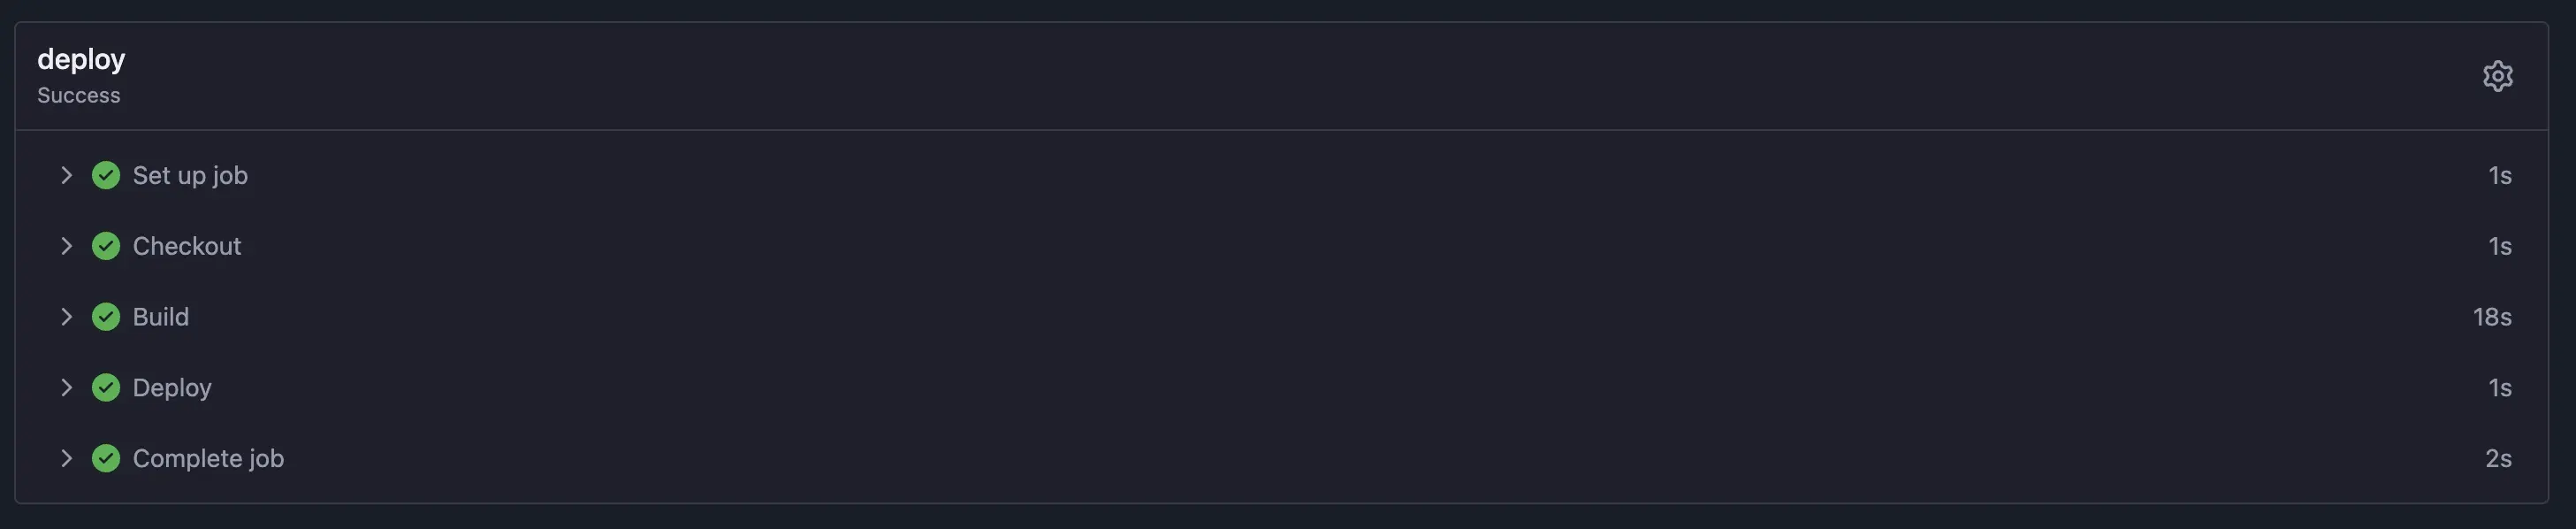
Confirm up to this step everything worked
Just ssh into your server like normally and run:
ls /var/www/sites/blogthere should be now the content of the build, if it exists, everything till now works fine.
#Running it with Caddy
Lastly we wanna configure caddy to serve this folder for this just set in our nix config (doing it in the caddyfile for non nix systems is also quite straightforward, just google it, you want the file_server option):
services.caddy = {
  enable = true;
  email = "yourwebmastermail@local"; # <--- change, or you wont get letsencrypt certs
  openFirewall = true;

  virtualHosts."catinashell.de" = {
    extraConfig = ''
      root * /var/www/sites/blog
      file_server

      encode zstd gzip
    '';
  };
};
Also note I didn’t add any headers here or caching, thats to keep the example here as minimal as possible, if you wanna learn more about this, read my blog post about this
nix linux ci forgejo server deployment
1149 Words
2026-09-03 02:00 (Last updated: 2026-10-18 16:37)
ba4175d @ 2026-10-18