Hugo Server Side Mermaid Rendering
This diagram is rendered during hugo build and served as a static svg.
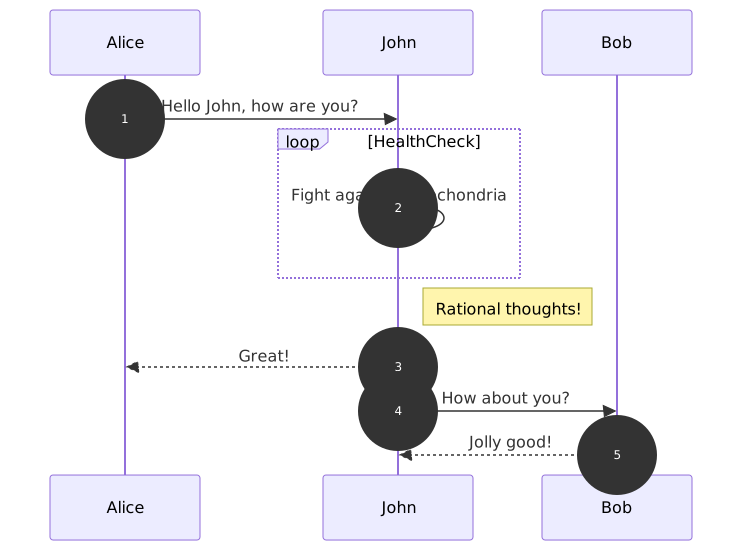
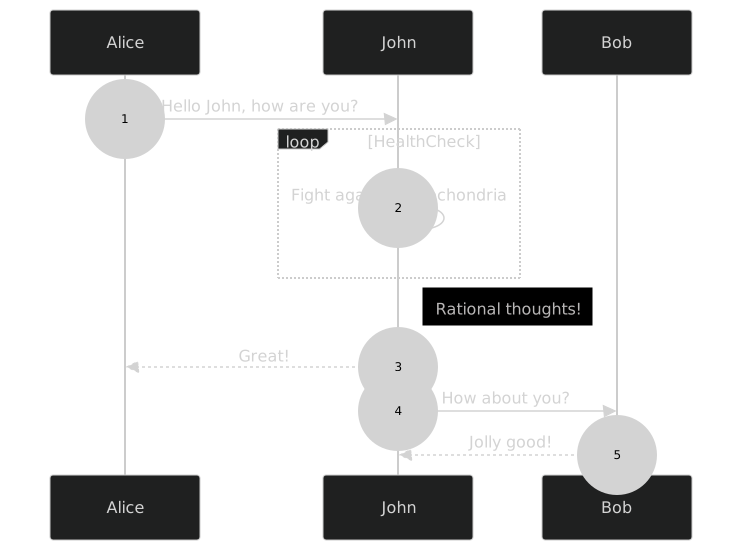
Most websites just use the mermiad js library and let each user render the diagrams client-side. But this is a imo pretty trashy solution, since it requires each visitor to run javascript (which no one should do …; read more in my about section).
#How to make Hugo render Mermaid Diagrams during Build
In the end you can just write in your markdown files:
```mermaid
packet
0-15: "Source Port"
16-31: "Destination Port"
32-63: "Sequence Number"
64-95: "Acknowledgment Number"
96-99: "Data Offset"
100-105: "Reserved"
106: "URG"
107: "ACK"
108: "PSH"
109: "RST"
110: "SYN"
111: "FIN"
112-127: "Window"
128-143: "Checksum"
144-159: "Urgent Pointer"
160-191: "(Options and Padding)"
192-255: "Data (variable length)"
```
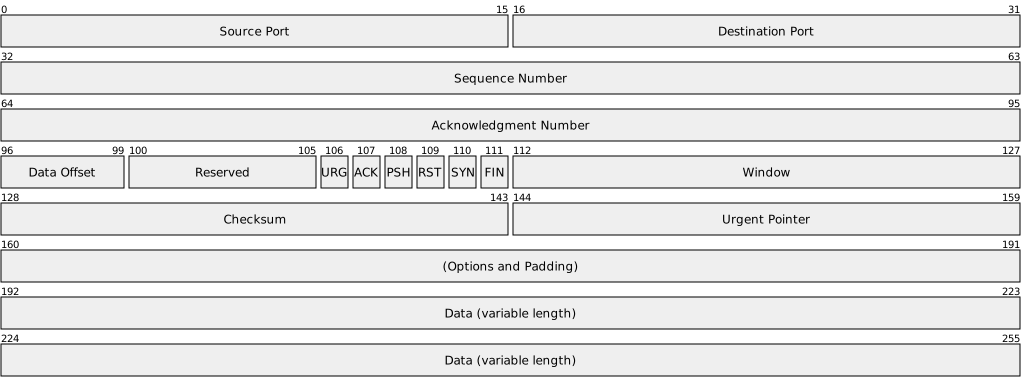
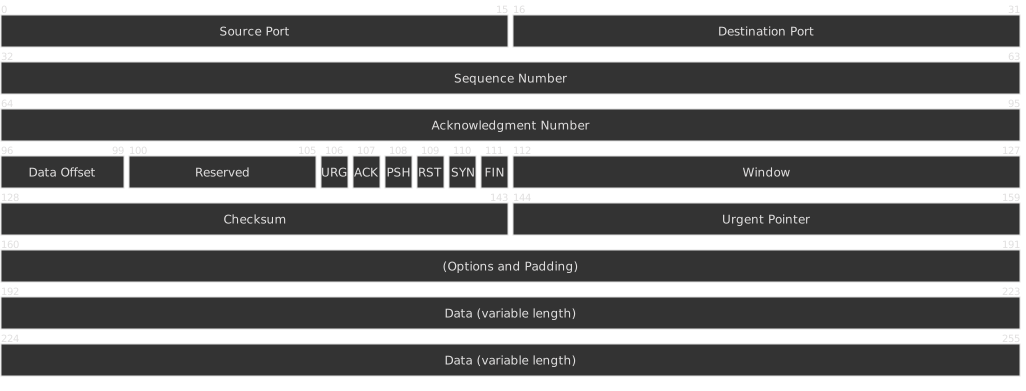
and it will rendered to the corresponding diagram’s svg
#Create a Build Hook
Hugo uses layouts/_default/_markup/render-codeblock.html to render all codeblocks, but if a specific languages codeblock is provided it will take precedence. render-codeblock-mermaid.html in our case.
So lets create that file and add some test code inside to see if it works:
<p>this will be later rendered in the file, where the mermaid block was</p>

{{ .Inner }} and this was written.```mermaid
something
123
```should now look like

now lets replace the renderhook with sth actually useful.
{{ $diagram := .Inner | strings.TrimSpace }}
{{ $url := "https://kroki.io/mermaid/svg" }}
{{ $darkInit := "%%{init: {'theme':'dark'}}%%" }}
{{ $diagramDark := printf "%s\n%s" $darkInit $diagram }}
{{ $opts  := dict "method" "POST" "body" $diagramDark "headers" (dict "Content-Type" "text/plain") }}

<div class="mermaid-diagram">
  {{ with resources.GetRemote $url $opts }}
    {{ $w := "" }}
    {{ with findRESubmatch `viewBox="0 0 ([0-9.]+)` .Content 1 }}{{ $w = index (index . 0) 1 }}{{ end }}
    <img class="mermaid-dark" src="{{ .RelPermalink }}" alt="Diagram"{{ with $w }} style="max-width:{{ . }}px;"{{ end }}>
  {{ end }}
</div>
Here we use kroki.io for the rendering, it should work now on every rebuild (incl. hugo server, automatically) and render all mermaid codeblocks to valid svgs. Basically all we want. But now lets go one step further and self host kroki, since being independent is always better, also otherwise we can’t build the blog when we’re offline …
#Selfhosting Kroki
For this lets just create a docker-compose file
services:
  kroki:
    image: yuzutech/kroki
    depends_on: [mermaid]
    environment:
      - KROKI_MERMAID_HOST=mermaid
    ports:
      - "8000:8000"
  mermaid:
    image: yuzutech/kroki-mermaid
    expose:
      - "8002"
and run it with podman: podman-compose up -d. Next we can change in our renderhook https://kroki.io to http://localhost:8000
{{ $diagram := .Inner | strings.TrimSpace }}
{{ $url := "http://localhost:8000/mermaid/svg" }}

...
but we’ll run into some security issues from Hugo that way, so next we need to allow requests to localhost. Inside your hugo.toml you can just add these lines:
[security.http]
methods = ['(?i)GET|POST']
urls = ['(?i)^https?://[a-z0-9]', '! ^https?://\d+\.', '(?i)^http?://localhost:8000', '! (?i)^https?://[^/?#]*@']
This allows connections to localhost:8000. So now hugo should run and render all your mermaid codeblocks to svg’s that are embedded automatially where the codeblocks were.
Enjoy ;)
#Credits
All mermaidjs examples here were taken from the mermaid docs
517 Words
2026-07-11 12:03 (Last updated: 2026-10-18 16:37)
ba4175d @ 2026-10-18